Close Menu
    Facebook X (Twitter) Instagram
    Facebook X (Twitter) Instagram
    Reporter ByteReporter Byte
    Subscribe
    • Technology
    • Environment
    • Entertainment
    • Health
    • Business
    • Education
    • Write For Us
    Reporter ByteReporter Byte
    Home»Technology»How to insert and modify images in Microsoft Word
    Technology

    How to insert and modify images in Microsoft Word

    Editorial TeamBy Editorial TeamJanuary 16, 20234 Mins Read
    Facebook Twitter Pinterest Telegram LinkedIn Tumblr Copy Link Email
    Follow Us
    Google News Flipboard
    Share
    Facebook Twitter LinkedIn Pinterest Email Copy Link

    Microsoft Word is a great tool to create simple flyers that only require a few visual elements. It can be difficult to get an image into Microsoft Word exactly the way you want it to look in your head if you don’t know how. There are many ways to acquire images depending on how you want them paired with your text. Once the image is placed, you can change the size or angle. Continue reading to learn more.

    Insert a picture into Microsoft Word

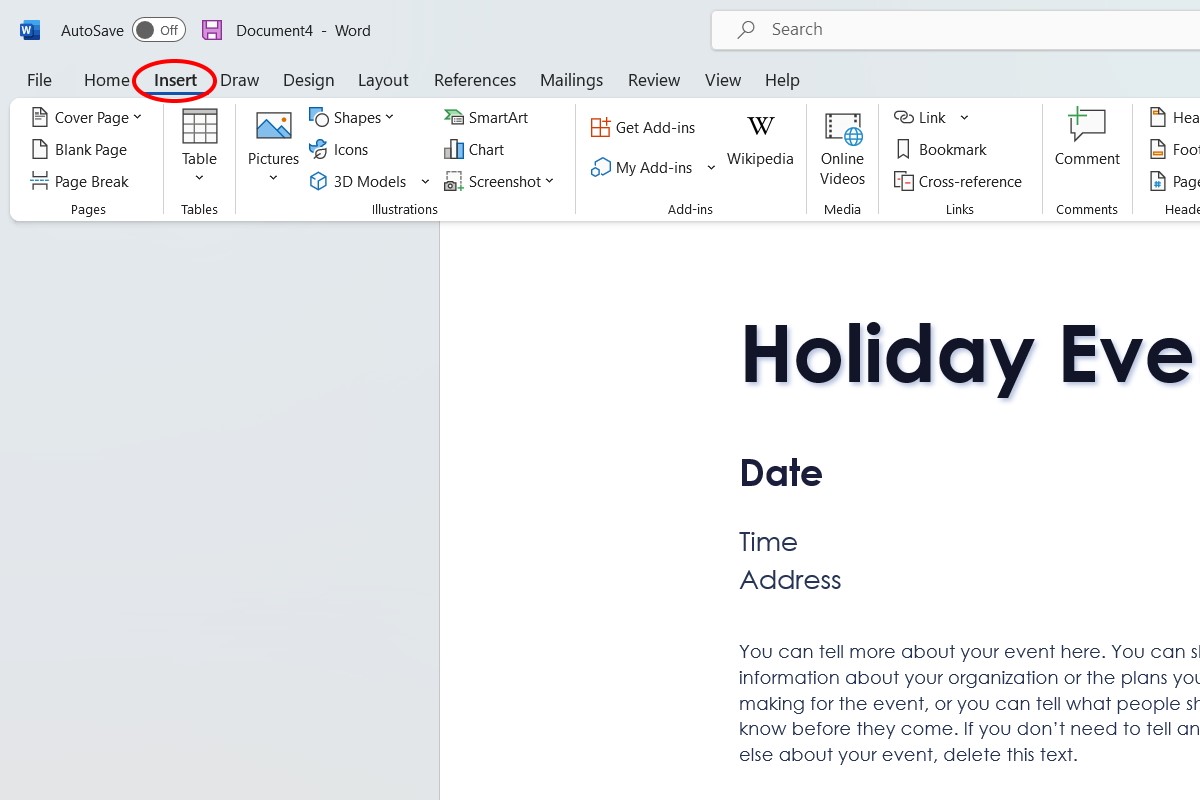
    Place your cursor wherever you want your image to be placed and then click left. Then go to Insertion Tab at the top Microsoft Word

    Microsoft word how to insert pictures

    IDJ / Alex Hubner

    You will find a file under the Insert tab. Infographics You can choose the department from which you will be working Pictures. You will see a drop-down menu of options to choose from.

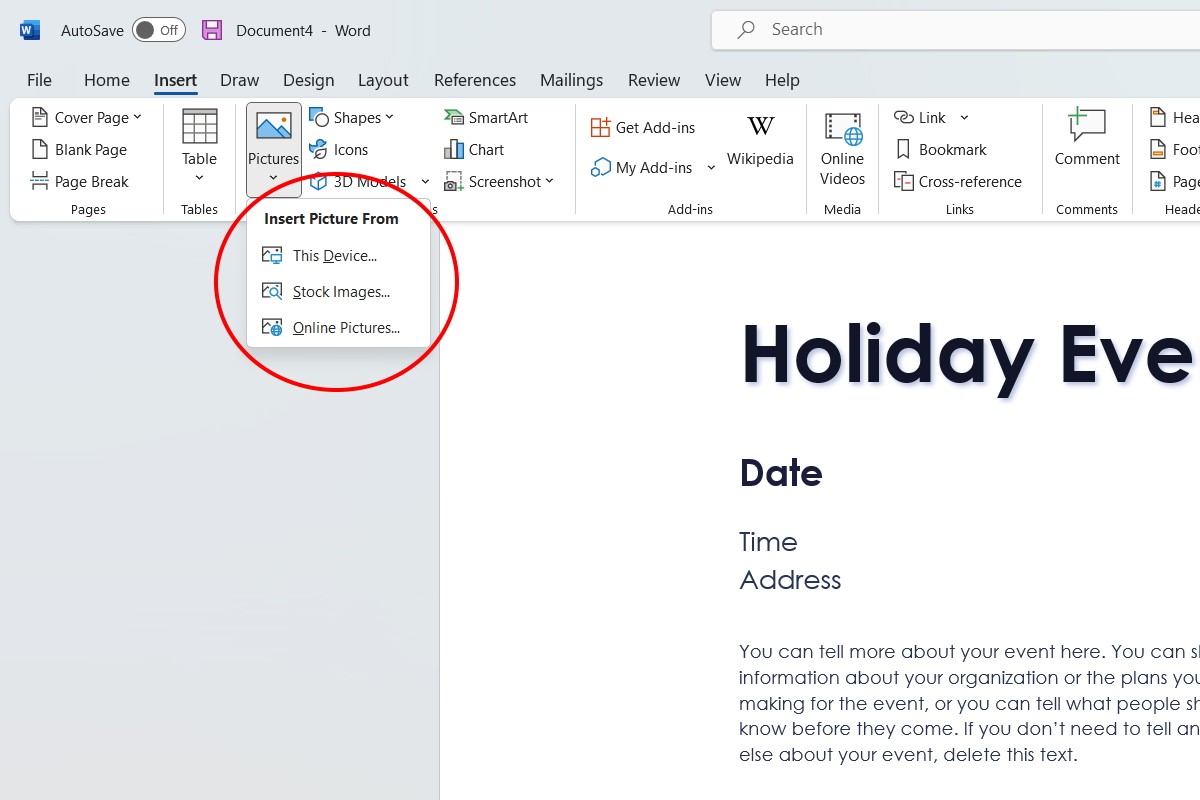
    If you don’t have an image in your head, you can use a Add a picture Choices Stock photosOr Pictures online. Once you click, a search box will open. Stored images are pulled directly from Microsoft’s image library. Online images are pulled directly from Bing search. Just type in the keywords you are looking for and click the image that you like best.

    How to insert pictures into Microsoft Word

    IDJ / Alex Hubner

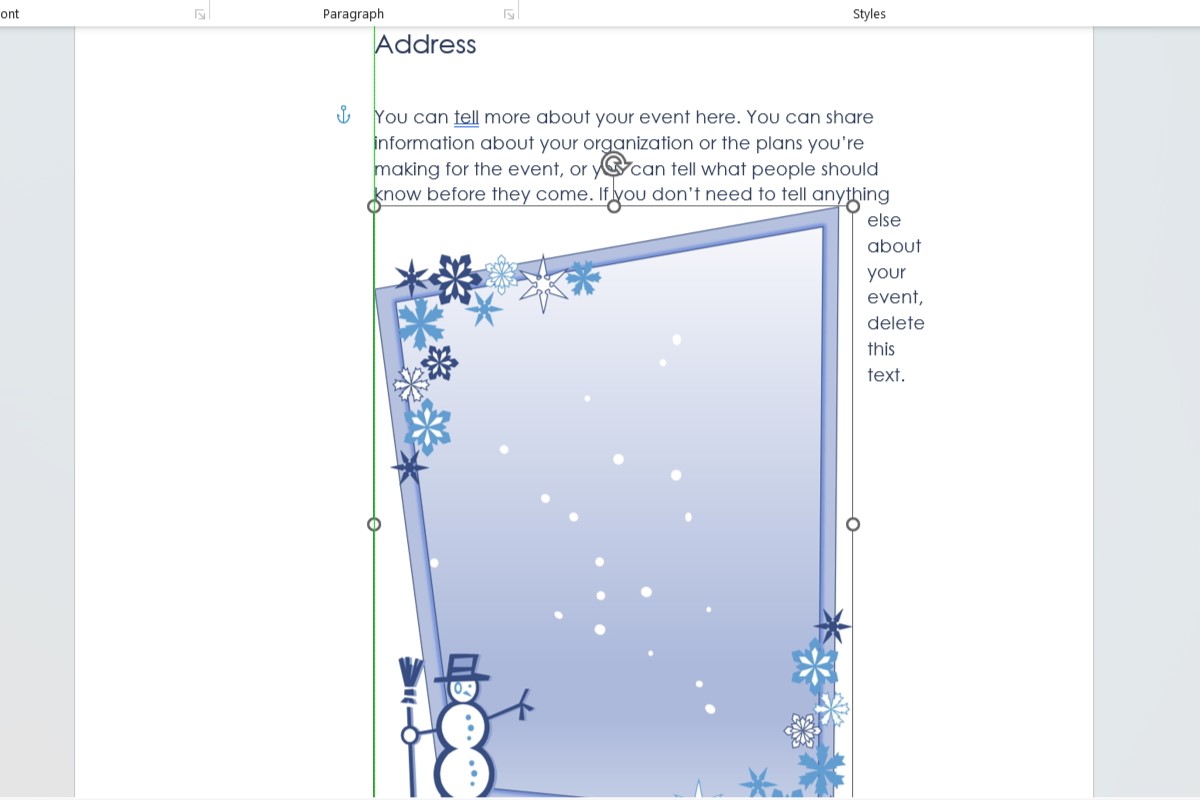
    Tap to insert a picture of your own from your phone. This device Instead, click the cursor to open your file explorer. Click on your image to open it. Your image will be placed along the text by default. This means that the image will behave just like the text, pushing all the words above and below it.

    How to insert pictures into Microsoft Word

    IDJ / Alex Hubner

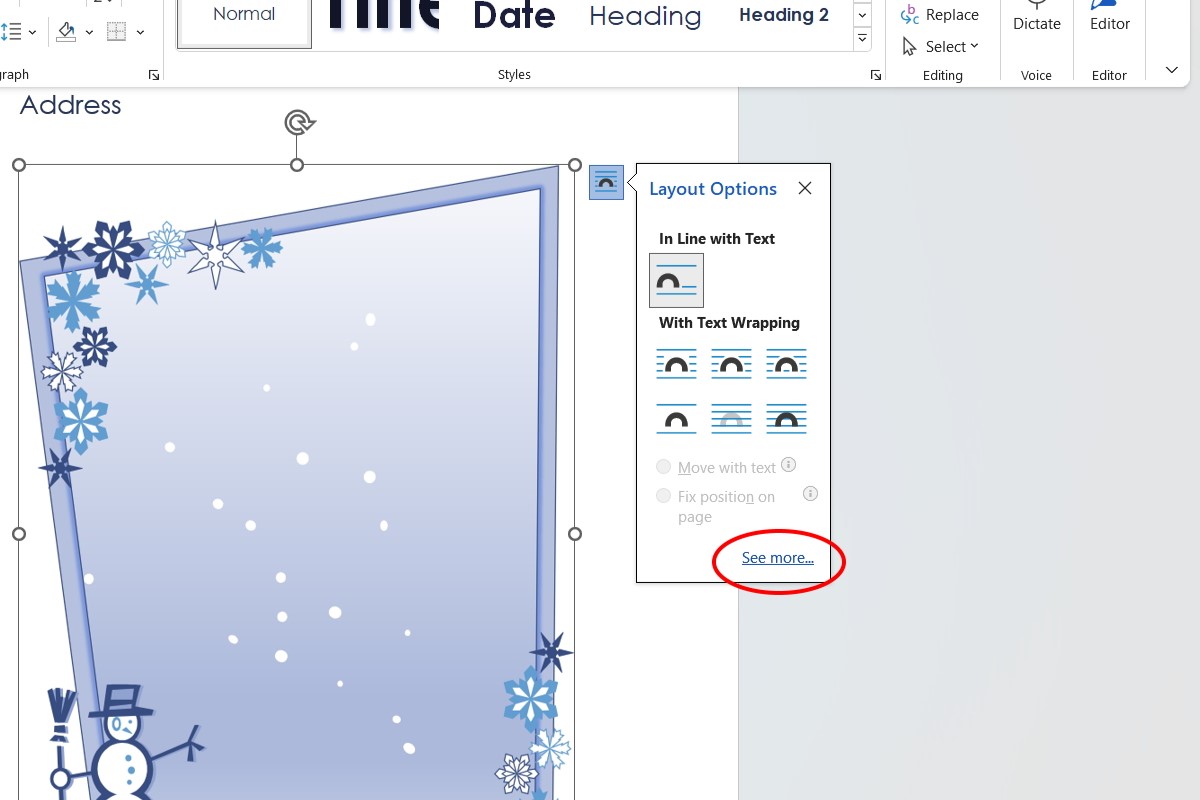
    To change this, click on the image or file Layout optionsTo the right will appear a box.

    How to insert pictures into Microsoft Word

    IDJ / Alex Hubner

    To see the names of the layouts, hover over each icon and select the one that suits your needs. Select the link to see all the options for changing the layout. More The bottom of the list.

    How to insert pictures into Microsoft Word

    IDJ / Alex Hubner

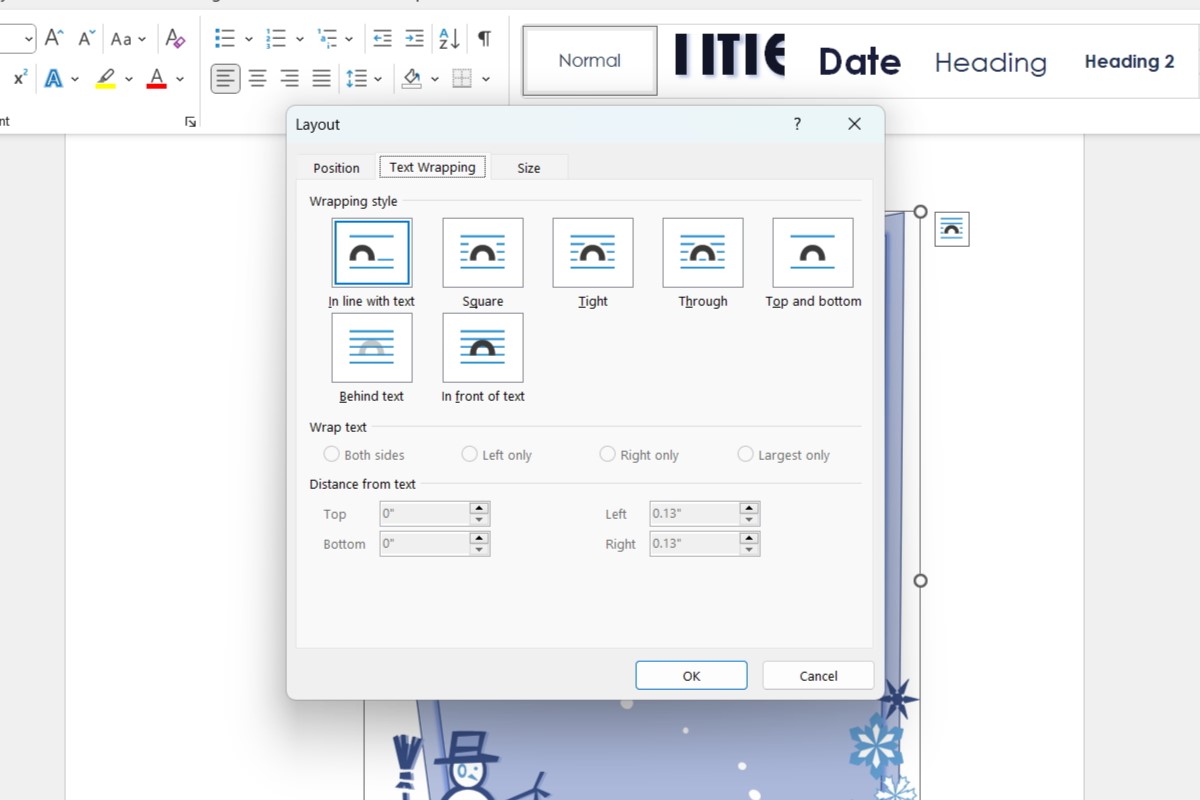
    A Planning The box will have options for size, text wrapping, and placement.

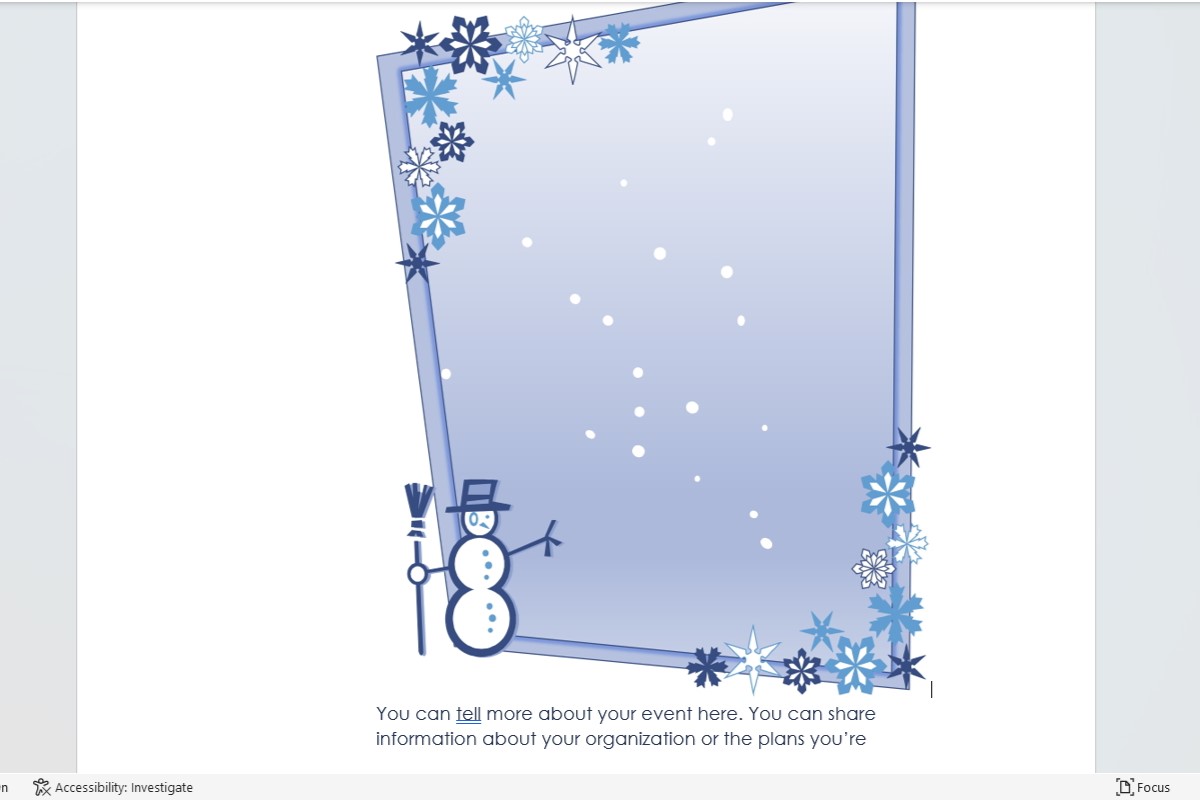
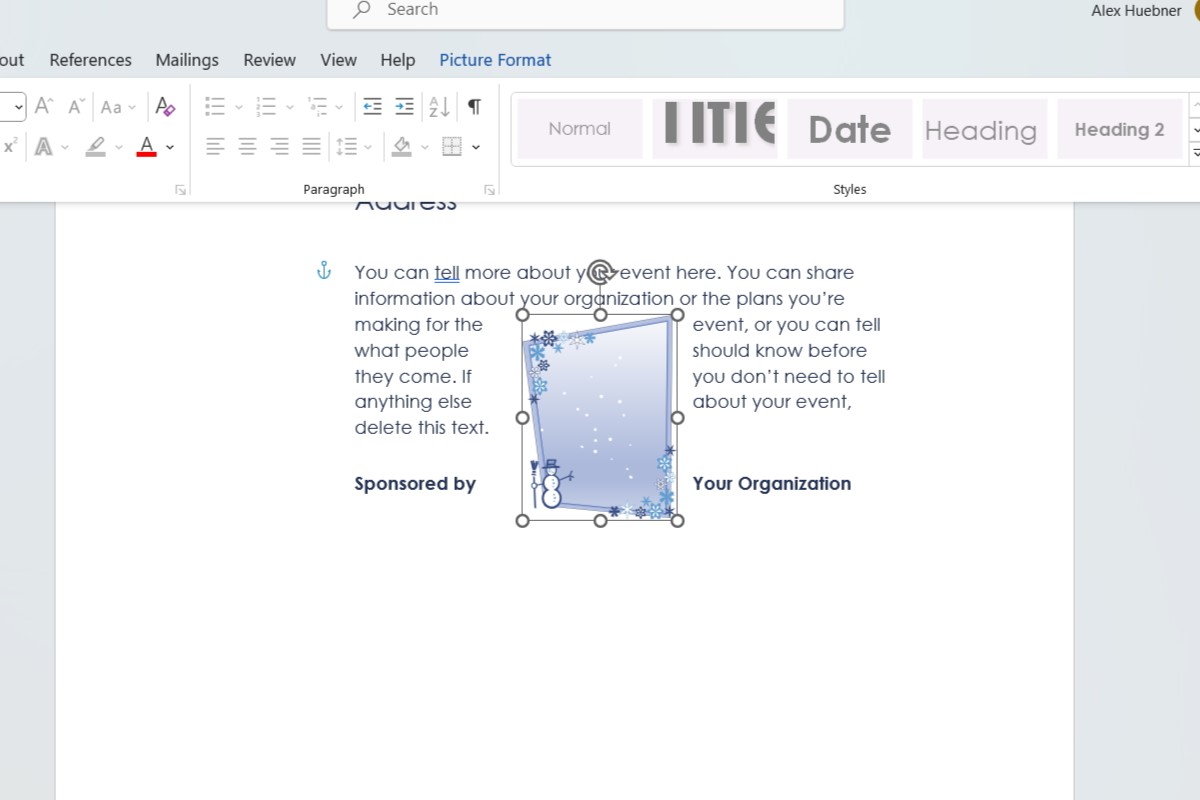
    Text wrapping will control how the image appears within a text. Square The text will make the image appear square with the text surrounding it. Narrow refers to text that is as close as possible to your image’s edges. This works best with PNG images, or images that don’t have traditional borders. Through will look similar to narrow, but will fill in any gaps in your image’s middle. Top and Bottom give your image its own line. The text will not be located next to the image but will be in a space before and afterwards.

    Your photo can be used as a background behind the text. Place the image in front of any text and it will cover all words within the document.

    How to insert pictures into Microsoft Word

    IDJ / Alex Hubner

    Microsoft Word editing an image

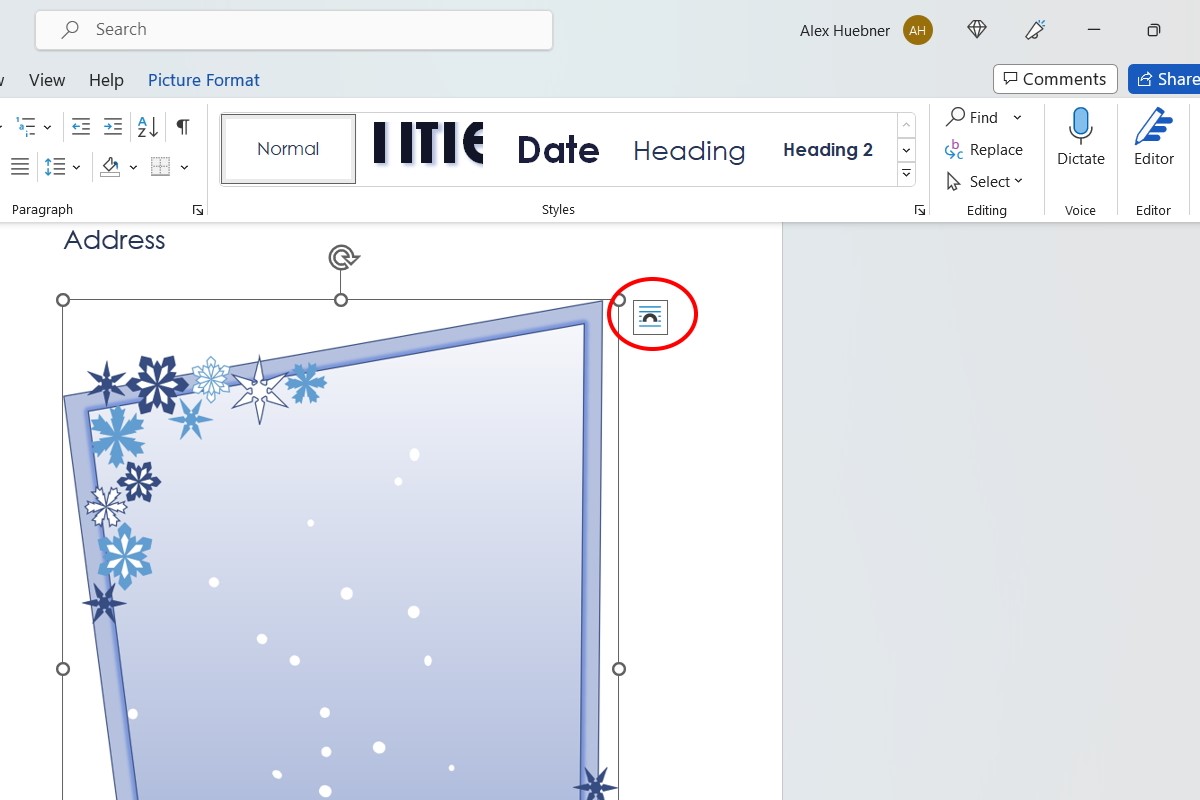
    When inserting an image, I don’t have to be restricted by the size. A square with circles along the lines appears when you click on a photograph in a Word file. The circles at its top and bottom will make it vertically taller, or shorter. The ones to the right and left will bring it horizontally, making them thinner or wider. The corners allow you to adjust the image proportions while making it smaller, wider, taller or shorter. You can adjust the image by clicking on the circle and holding the mouse button while you drag in the desired direction.

    How to justify pictures in Microsoft Word

    IDJ / Alex Hubner

    Once you have it at the right size, you can move the cursor by clicking on the image left-click. You will see a cursor that is white with four black arrows going in all directions. Click and hold the mouse button, then drag it to the desired location in the document.

    How to justify pictures in Microsoft Word

    IDJ / Alex Hubner

    Source link

    [Denial of responsibility! reporterbyte.com is an automatic aggregator of the all world’s media. In each content, the hyperlink to the primary source is specified. All trademarks belong to their rightful owners, all materials to their authors. If you are the owner of the content and do not want us to publish your materials, please contact us by email – reporterbyte.com The content will be deleted within 24 hours.]

    Total
    0
    Shares
    Share 0
    Tweet 0
    Pin it 0
    Share 0
    Follow on Google News Follow on Flipboard
    Share. Facebook Twitter Pinterest LinkedIn Telegram Email Copy Link
    Editorial Team

    Related Posts

    Recycleye Acquired by CP Group in Major AI Robotics Waste Tech Deal

    April 21, 2026

    Fraud Prevention and Compliance Strengthened as XConnect and SONIO Partner Across Key Industries

    March 17, 2026

    Search After Google: AI Answer Engines, Zero-Click Economies, and the Collapse of Traditional SEO

    January 22, 2026
    Recent Posts
    • Jonathan Alexander Abt – What Is Obstructive Sleep Apnoea?
    • ThinkMarkets ties live CFD trading to AI assistants through ChelseaAI
    • How Product Teams Evaluate External Public-Record Data Sources
    • Contemporary Information Corp on Recent Rental Legislation
    • Lage and Rezende’s Political Psychology Book Completes Its Move Into English
    Recent Comments
      Archives
      • June 2026
      • May 2026
      • April 2026
      • March 2026
      • February 2026
      • January 2026
      • December 2025
      • November 2025
      • October 2025
      • September 2025
      • August 2025
      • July 2025
      • June 2025
      • May 2025
      • April 2025
      • March 2025
      • February 2025
      • January 2025
      • December 2024
      • November 2024
      • October 2024
      • September 2024
      • August 2024
      • July 2024
      • June 2024
      • May 2024
      • April 2024
      • March 2024
      • February 2024
      • January 2024
      • December 2023
      • November 2023
      • October 2023
      • September 2023
      • August 2023
      • July 2023
      • June 2023
      • May 2023
      • April 2023
      • March 2023
      • February 2023
      • January 2023
      • December 2022
      • November 2022
      • October 2022
      • September 2022
      • August 2022
      • July 2022
      • June 2022
      • May 2022
      • April 2022
      • March 2022
      • February 2022
      • January 2022
      • December 2021
      • November 2021
      • October 2021
      • September 2021
      • August 2021
      • July 2021
      • June 2021
      • May 2021
      • April 2021
      • March 2021
      • February 2021
      • January 2021
      • December 2020
      • November 2020
      • October 2020
      Categories
      • Arts
      • Automotive
      • Blog
      • Book Publishing
      • Business
      • Education
      • Energy
      • Entertainment
      • Environment
      • Featured
      • Finance
      • Food & Drink
      • Gaming
      • Health
      • Home Improvement
      • Lifestyle
      • Marketing
      • Media
      • Medical
      • News
      • Pets & Animals
      • Property
      • Sports
      • Technology
      • Travel
      Reporter Byte
      Facebook X (Twitter) Instagram Pinterest
      • Technology
      • Environment
      • Entertainment
      • Health
      • Business
      • Education
      • Write For Us
      Copyright © 2020 Reporter Byte | All Rights Reserved

      Type above and press Enter to search. Press Esc to cancel.